Final Image Preview
First, take a look at the image we'll be creating. Want access to full PSD files and downloadable copies of every tutorial, including this one? Join PSDTUTS PLUS for just $9/month. You can view the final image preview below or view a larger version here.

Step 1
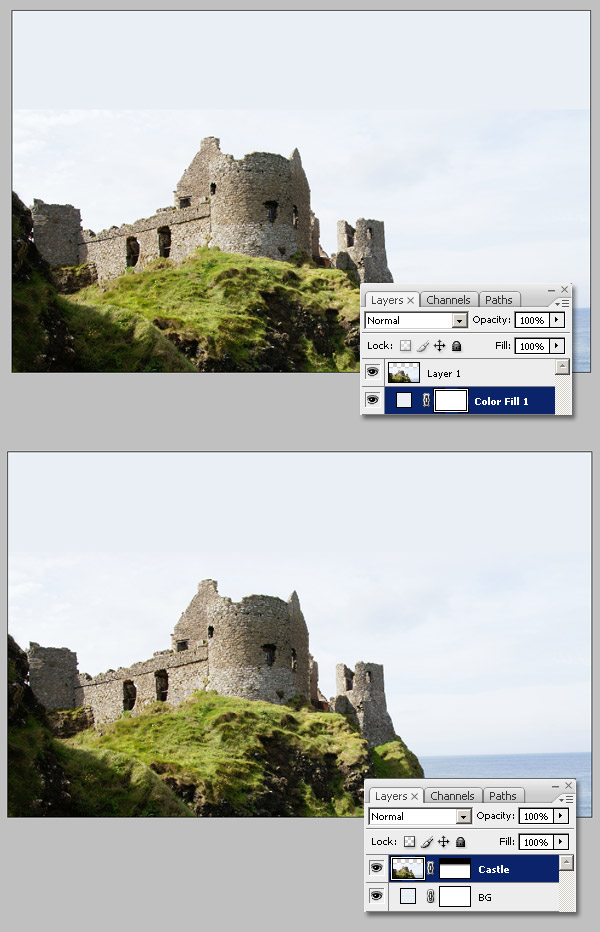
I've always liked dragons, this time I've got the chance to create a dragon using a few real life pictures and mock-up the creature into a realistic landscape. First of all, find your pictures. The scene isn't a problem, you can use any picture, I'm using this, which is a nice ruined castle to put my dragon on it.
We'll see forward how to pick the right pictures to make a good composite. I must say that this isn't always a step by step process. I'm writing the steps according to my creative process, but you can follow your instinct to get a very similar result without following the same order.
Create a new document, 1440 pixels by 900 pixels RGB. Paste the castle picture into a new layer. Using the Eye dropper select a sample color of the sky and create a new Fill layer with that color (in this case #EAEFF5). Then go to Layer > Layer Mask > Reveal all, and fill the mask with a black to white (#000000 - #FFFFFF) vertical gradient. Finally, merge both layers and name the resultant layer "Castle."
Step 2
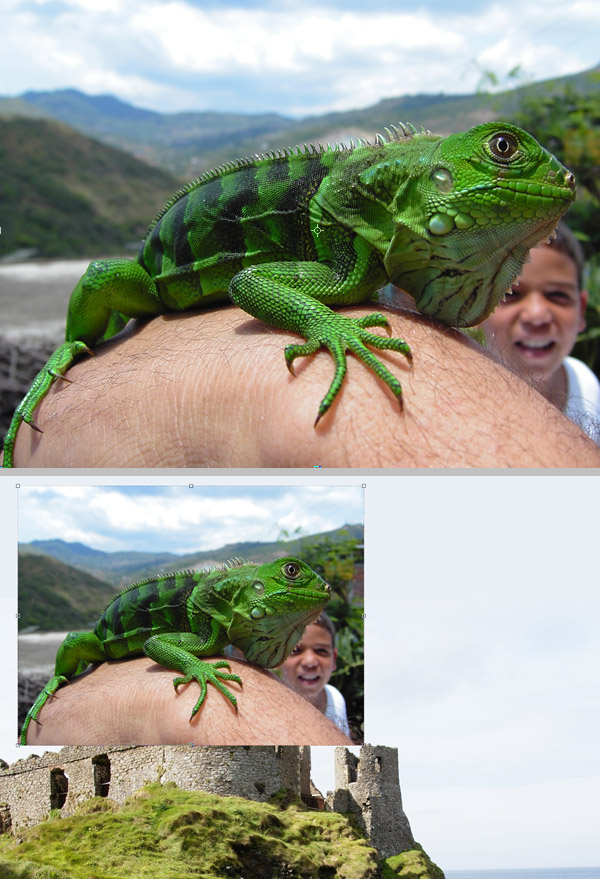
Let's add the main part of our dragon. After two hours searching for an image that matches the castle shape I've found this beautiful picture of a baby iguana. Paste it into a new layer and make it smaller, then move the picture above the castle.
Step 3
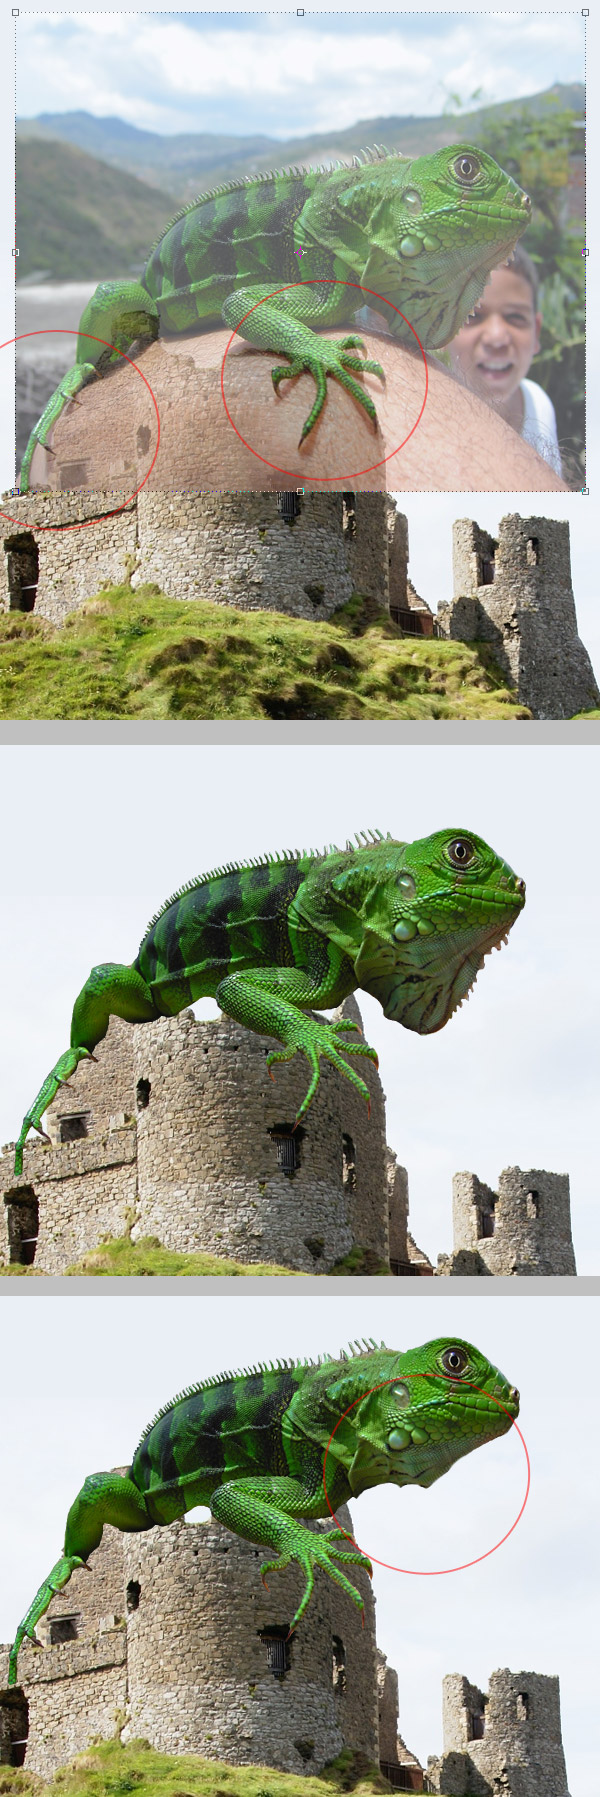
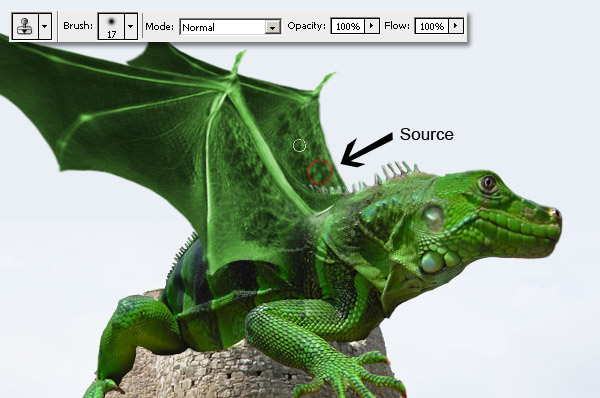
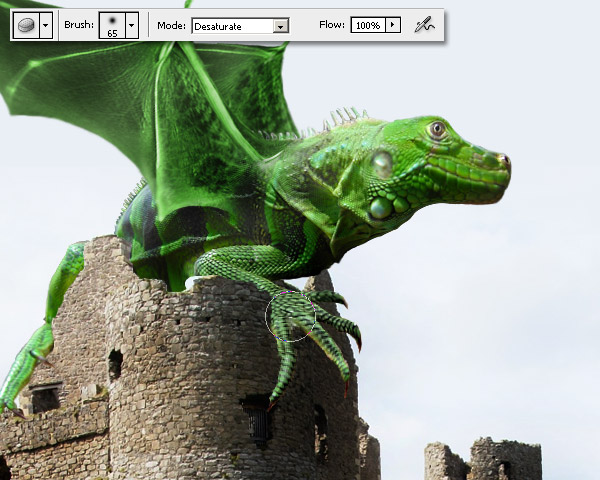
Select the "Lizard" layer, and bring down its Opacity a little bit, maybe to 65%. Resize the picture trying to place the iguana's legs over the castle. Next comes the hardest part of the entire process: extract the lizard shape. I tried to find some easy and quick way to extract the iguana from the background using a color channel, but I didn't like the result. So, I just grab the Lasso Tool and extract the shape in a classic way. It took about twenty minutes. Also, remove a little bit of the neck skin.
Step 4
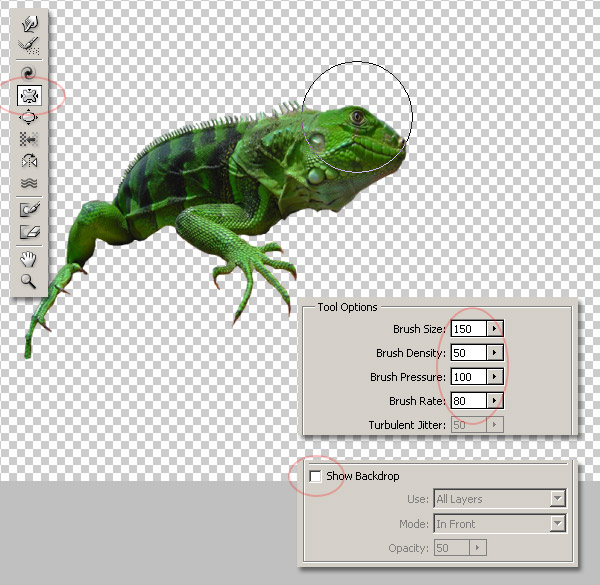
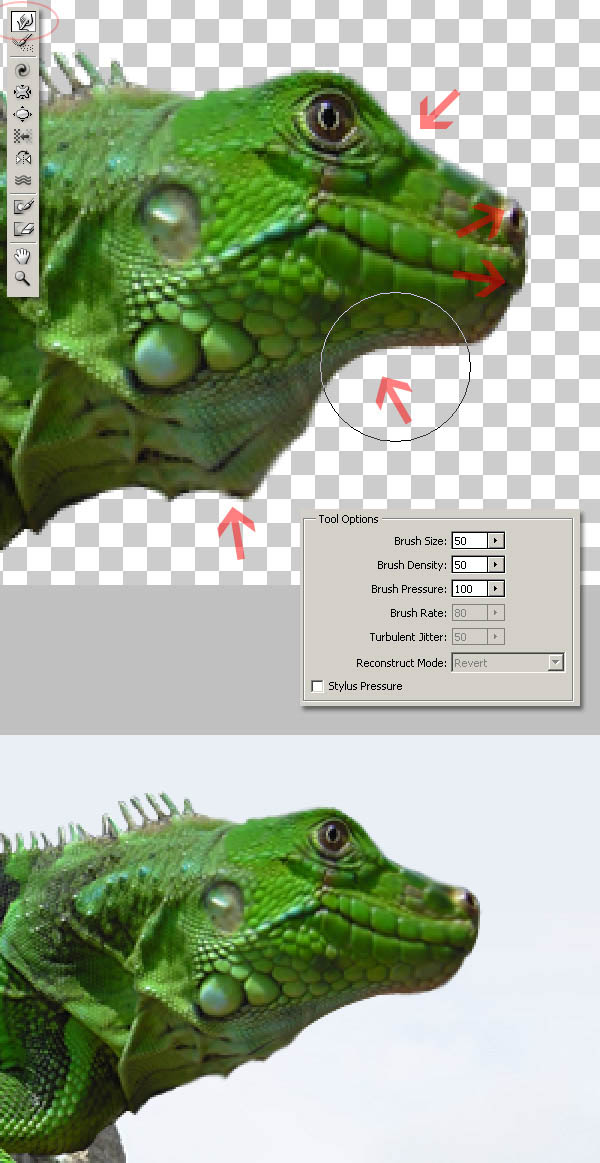
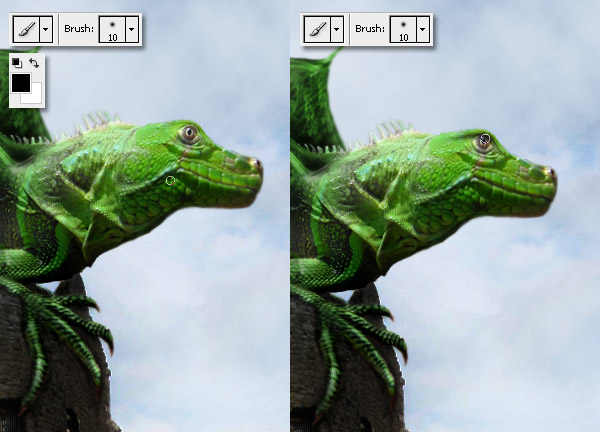
Maybe this baby iguana is the nicest lizard ever, we need to reveal its dark side though. Go to Filter > Liquify and select the Pucker Tool, then set the Brush size to 150 and Brush Density to 50, and make a few clicks over the lizard's eye to make it smaller. Also, ensure the Show Backdrop option is disable. Click OK to see the result.
Step 5
Go to the Liquify window and select the Forward Warp Tool (W). Set the brush size to 50 and Density to 50. Then start warping some little areas of the lizard's head. Pull the neck inside, make the nose wider, and the nose hole a little bit higher. Try to get something like the bottom of the image below. Since this is a test and error process you can edit the shape as many times as you want until you find the desired look. Also, you can play with the brush sizes and density values.
Step 6
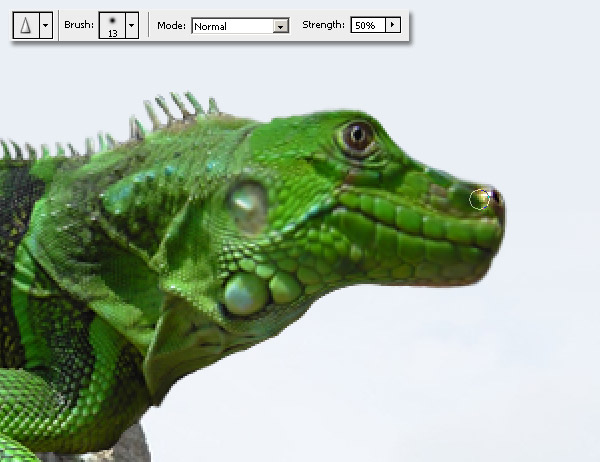
The liquify process make some areas a little bit blurry, so select the Sharpen Tool (R) and sharpen the lizard's nose hole, eye, and mouth.
Step 7
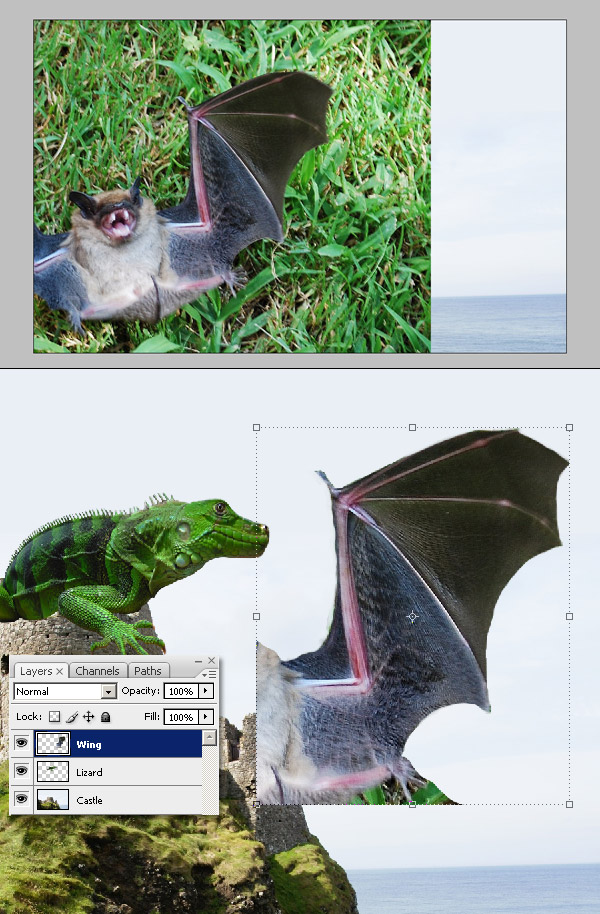
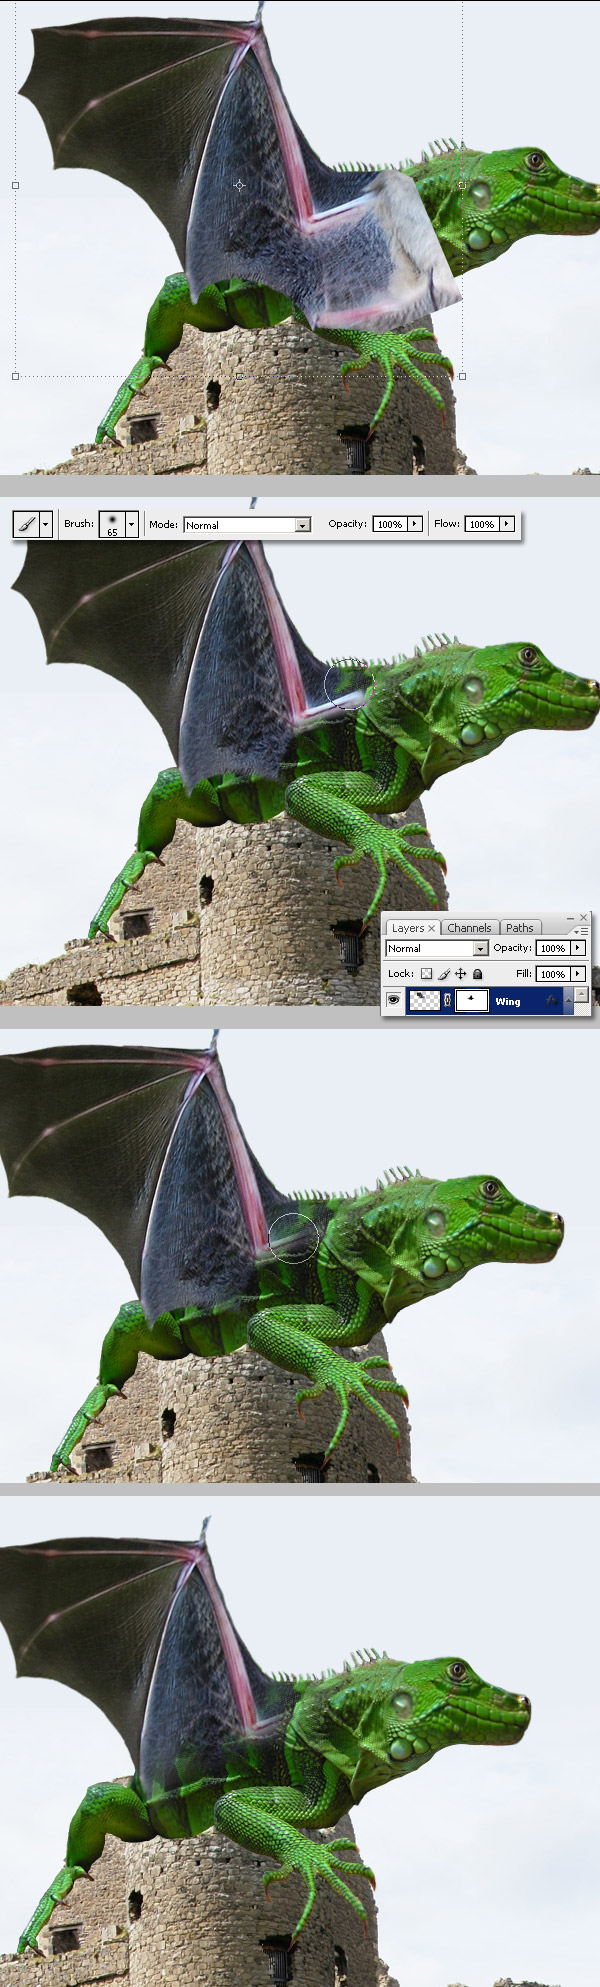
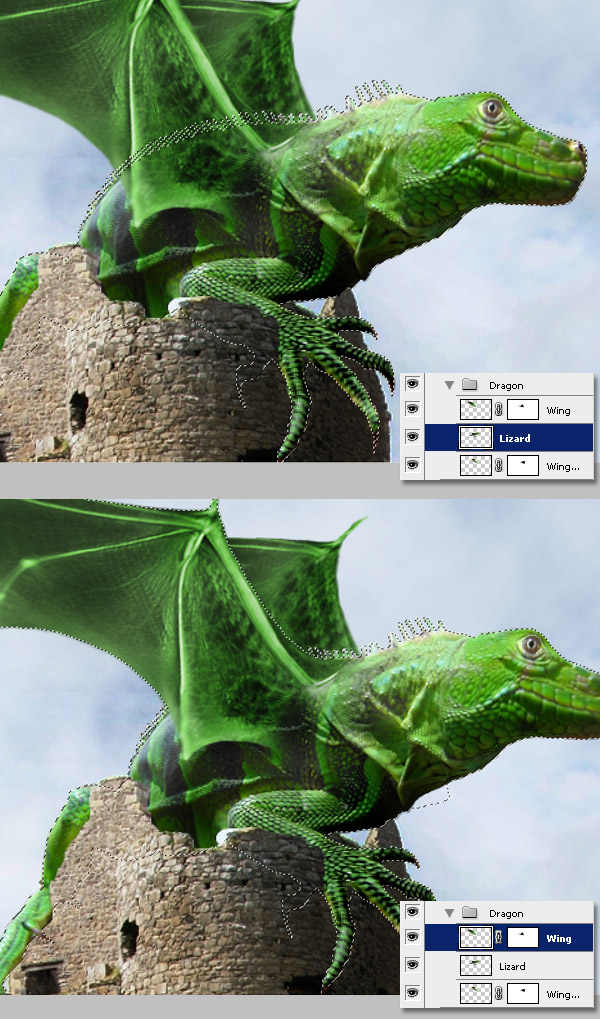
Now let's add a couple of wings to our dragon. Since the dinosaurs has gone, there's no way to take a picture of a reptile wing, so we'll use the most similar image we can find, in this case a bat wing. Find your bat or download this one, then extract one of the wings. You can use the Lasso Tool this time. Try to get a piece of then bat's body when you're extracting as well.
Step 8
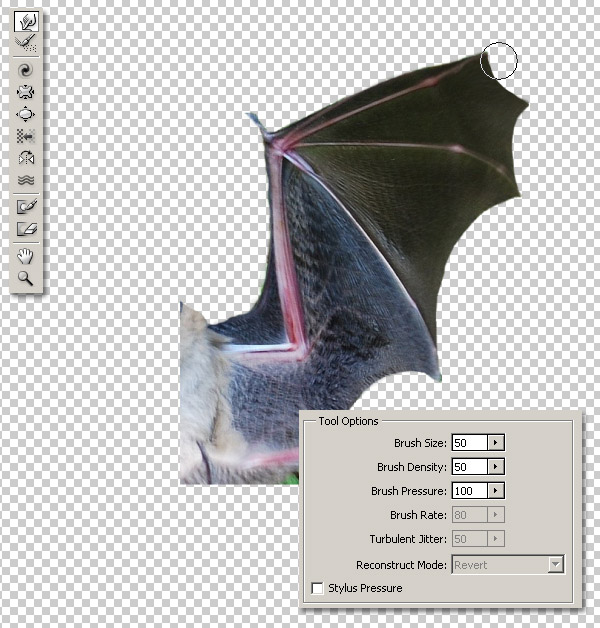
Go to the Liquify window and select the Forward Warp Tool (W). Then sharpen one of the points of the wing.
Step 9
Select the wing and go to Edit > Transform > Flip Horizontal. Then apply a Layer mask > Reveal All, and using a soft Brush paint with black (#000000) over the layer mask to hide the extra wing. Try to get something like the bottom of following image.
Step 10
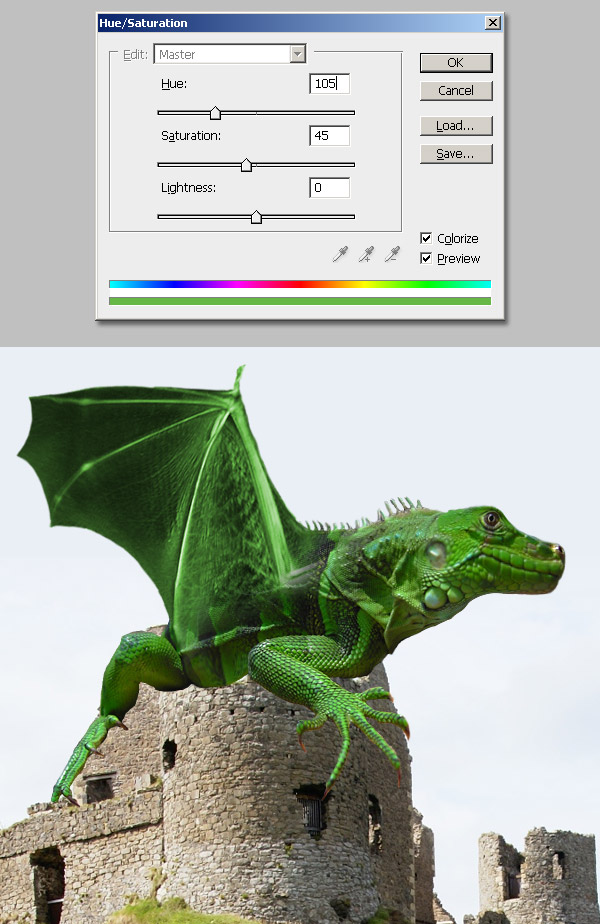
Now change the "Wing" layer's Hue / Saturation by clicking Command + U. And set the following values.
Step 11
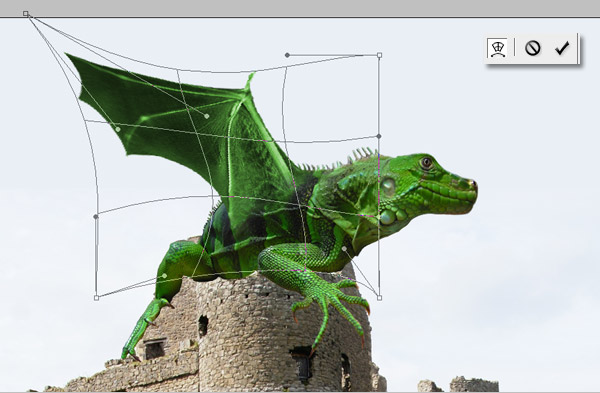
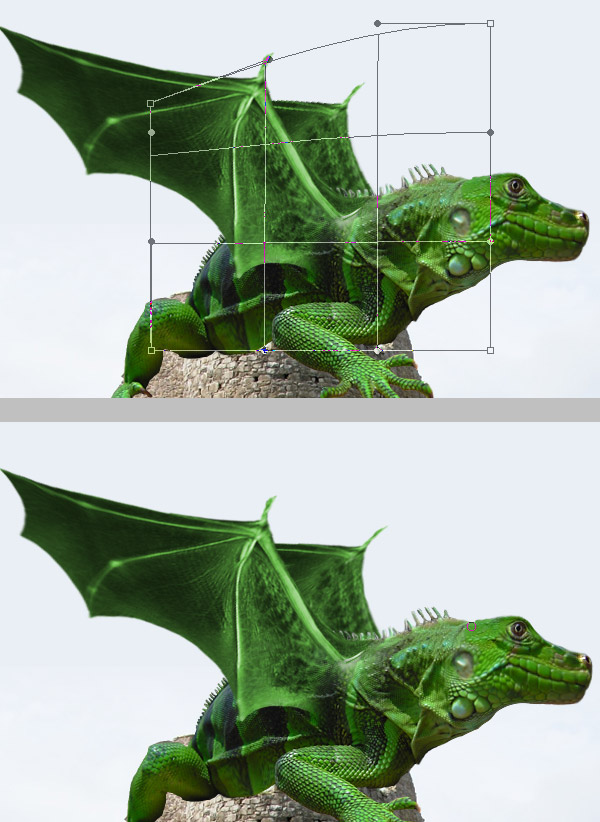
Now Warp the wing a little bit to make it stretch. To warp an image, just use the Free Transform options, click on a corner and select Warp form the menu options. Hit Return when you have finished.
Step 12
Next, Use a white (#FFFFFF) brush to paint over the wing's layer mask to reveal some little areas of the wing, try to create a nice join between the wing skin and body skin. Also, improve the wing shape especially on the wave next to the body. Switch the brush size making it smaller or bigger anytime you need to.

Step 13
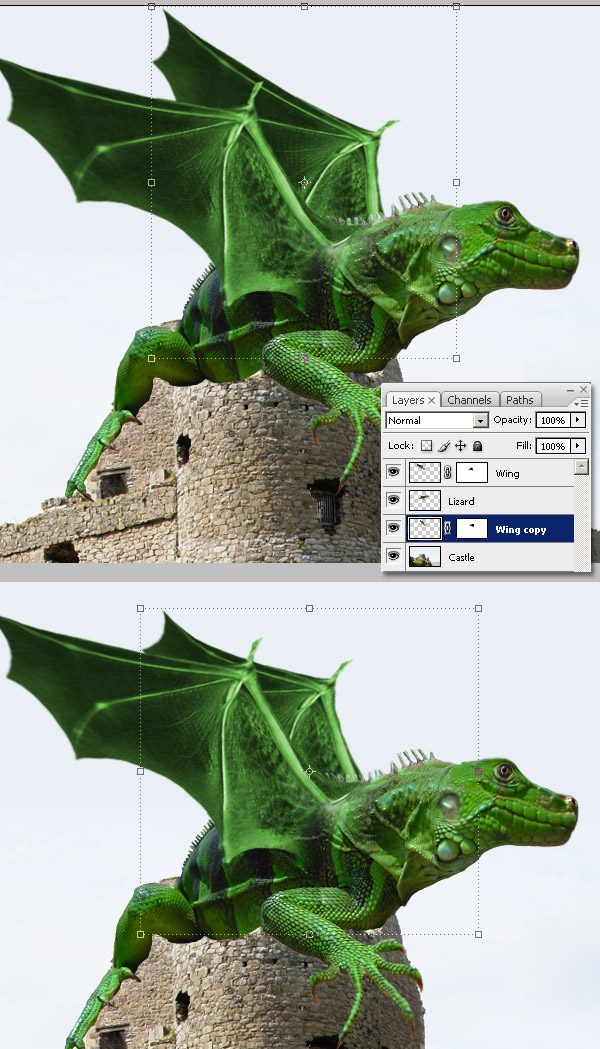
Duplicate the "Wing" layer and place it behind all the other layers. Then Free Transform the second wing a little bit to make it smaller.
Step 14
Clone some areas of the second wing to hide the tendons.
Step 15
Warp the second wing a little bit just to make it look different. Then go to Filter > Blur > Blur and apply it a few times.
Step 16
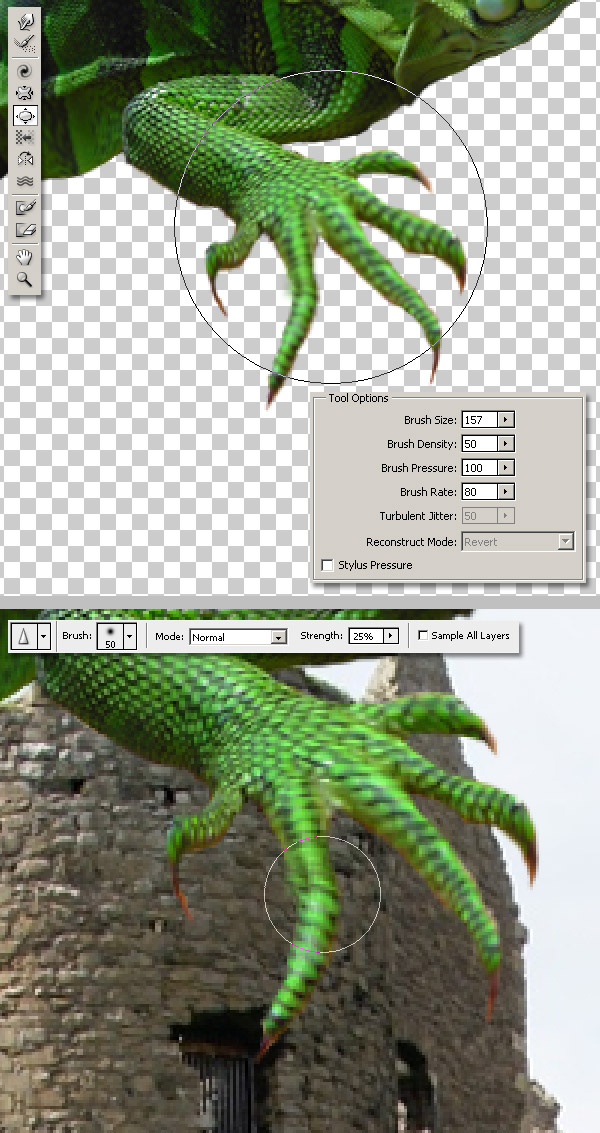
At this point our dragon has taken shape, but we must improve the details. Go to the Liquify window and select the Bloat Tool to inflate the leg a little bit. Then select the Sharpen Tool and sharpen the fingers a little bit.
Step 17
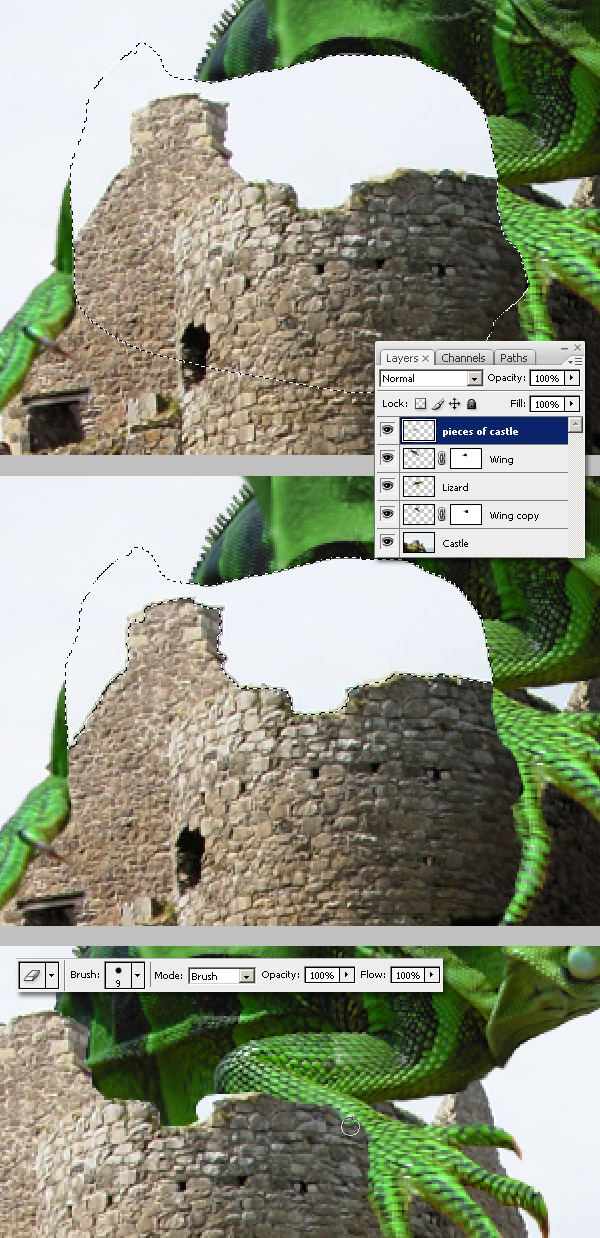
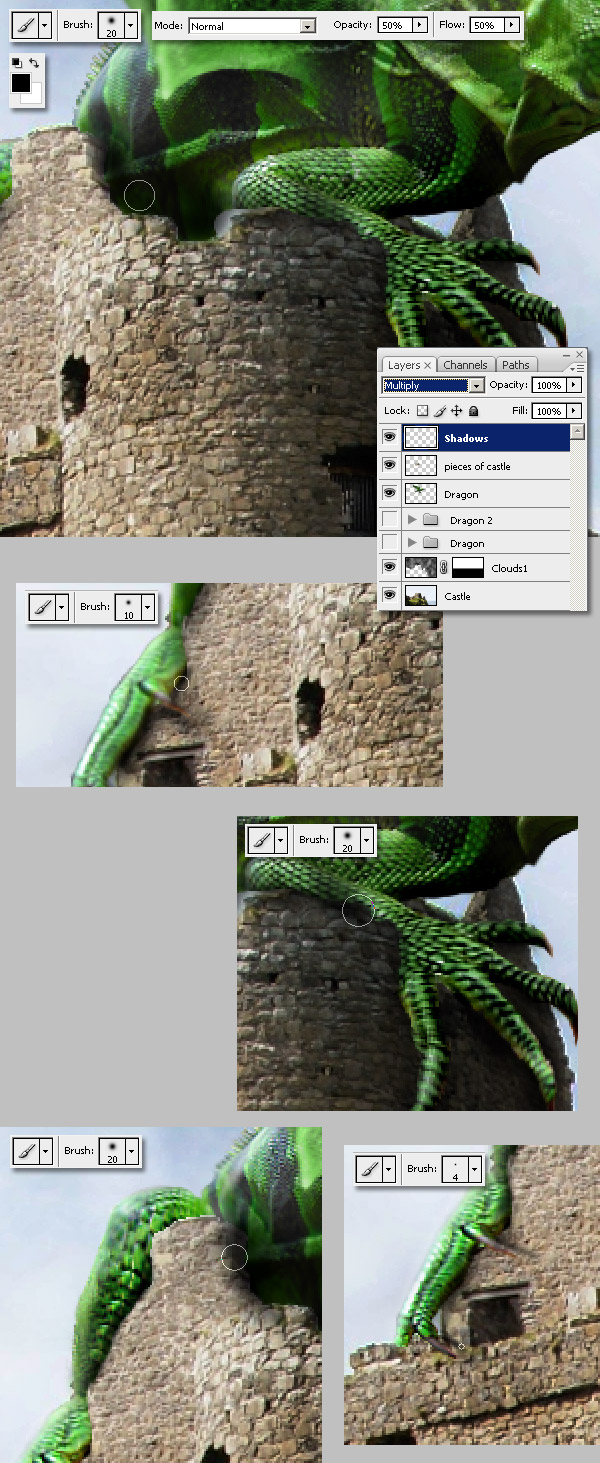
Now this is an important step, using the Lasso Tool copy a big piece of the "Castle" layer and paste it above the "lizard" and "wings" layers, name it "pieces of castle." Next using the Magic Wand Tool, select the sky above the "pieces of castle" and delete it. Using a small Eraser delete the borders and try to obtain a natural effect on the wall's rocks.
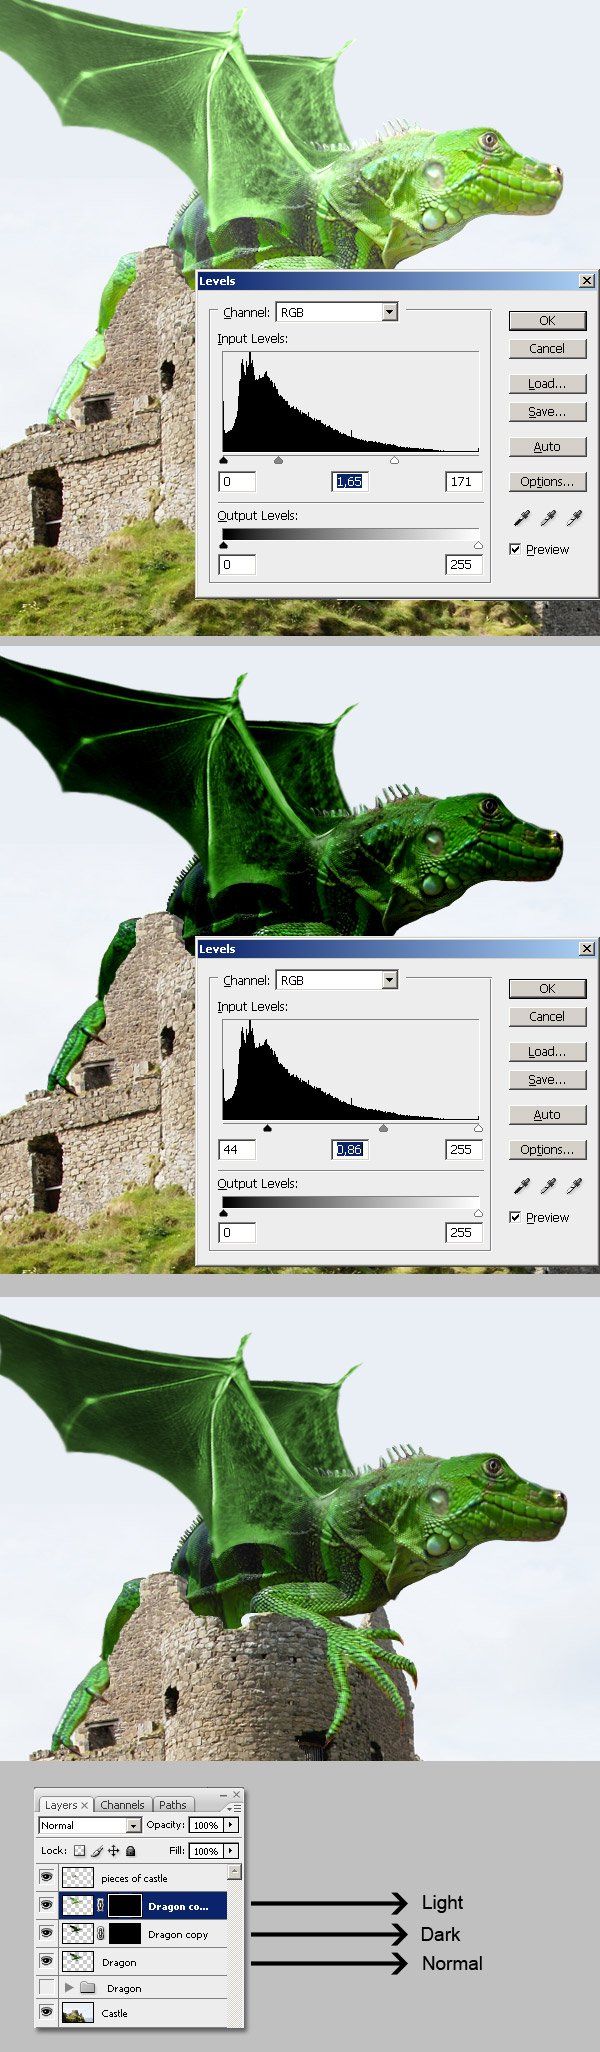
Step 18
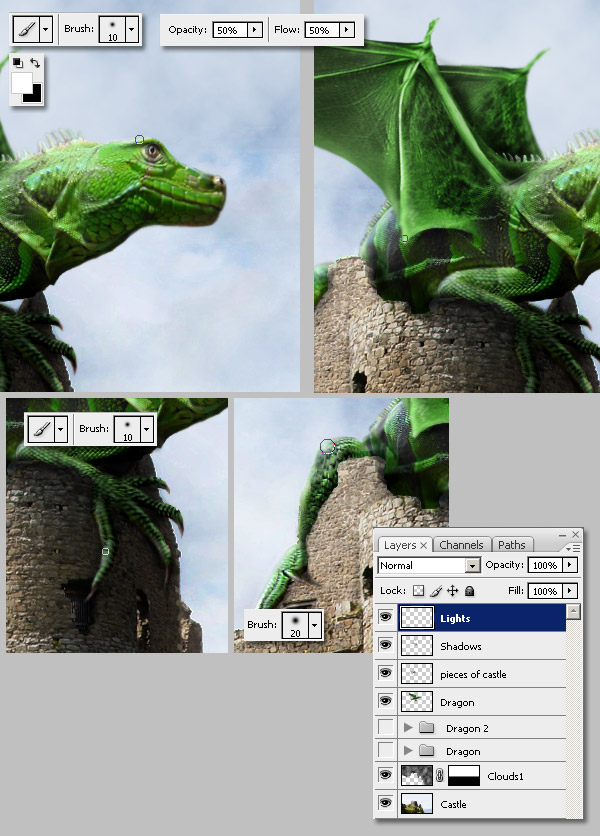
Take a look at the lighting, our dragon doesn't match with castle's lightening. Let's fix that!. First of all we need to create two copies of the entire dragon. Create a new folder, put "Lizard" and "Wings" layers on it and name the folder "Dragon", then duplicate the folder and merge the copy, do not delete the original "Lizard" and "Wings" layers because we'll using them later, just hide the original folder. Once you have created two copies of the dragon, let's change their lightening, press Command + L to adjust the levels of the first copy, and make it lighter. Then select the second copy and adjust the levels to make it darker. Then apply a Layer mask > Hide all to each copy and finally, put both copies above the original dragon on layer's palette.
Step 19
Lets grab your Brush Tool, and start painting with white in (#FFFFFF) the dragon's light copy layer mask. Paint the left areas of the dragon according to the light source (see the castle's shadows for reference), Change the brush sizes anytime you want, also if you make a mistake when painting, just switch the color to black (#000000) and paint over.
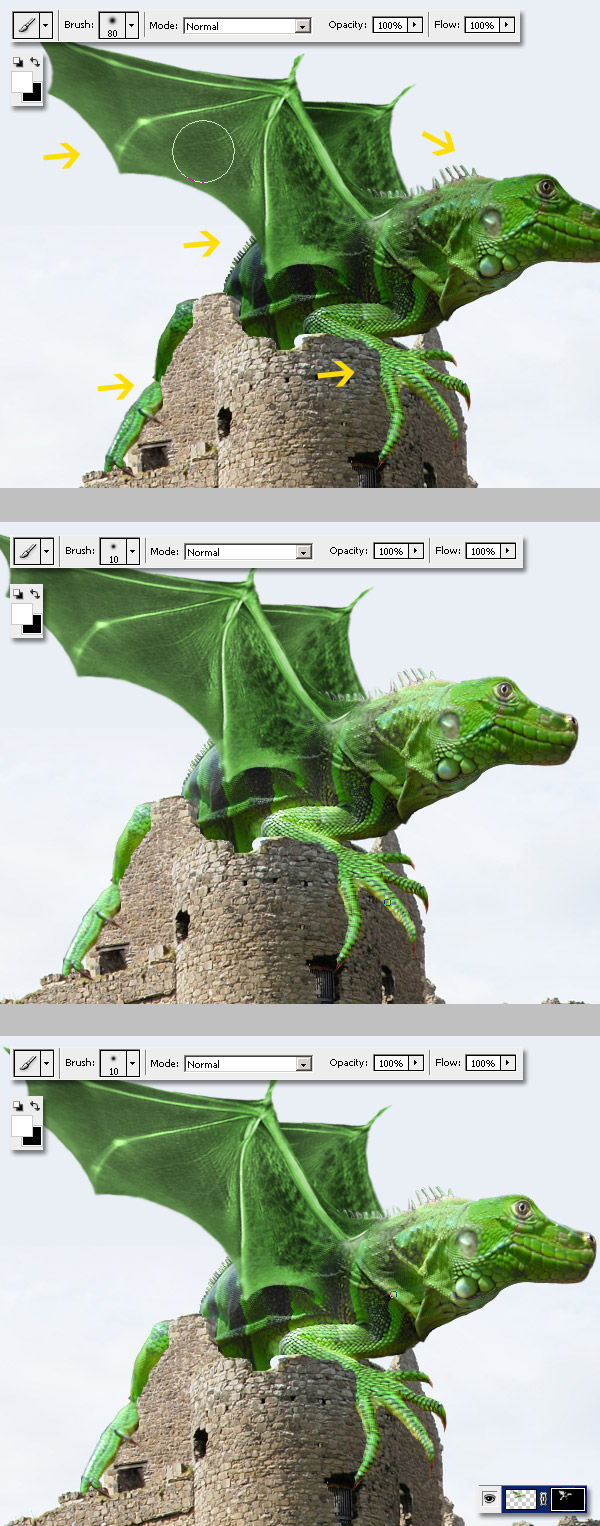
Step 20
Now repeat the previous step on the dragon's dark copy this time. Remember you'll be painting on the layer mask. When you have finished this process you'll notice the lightening is a lot better than before.
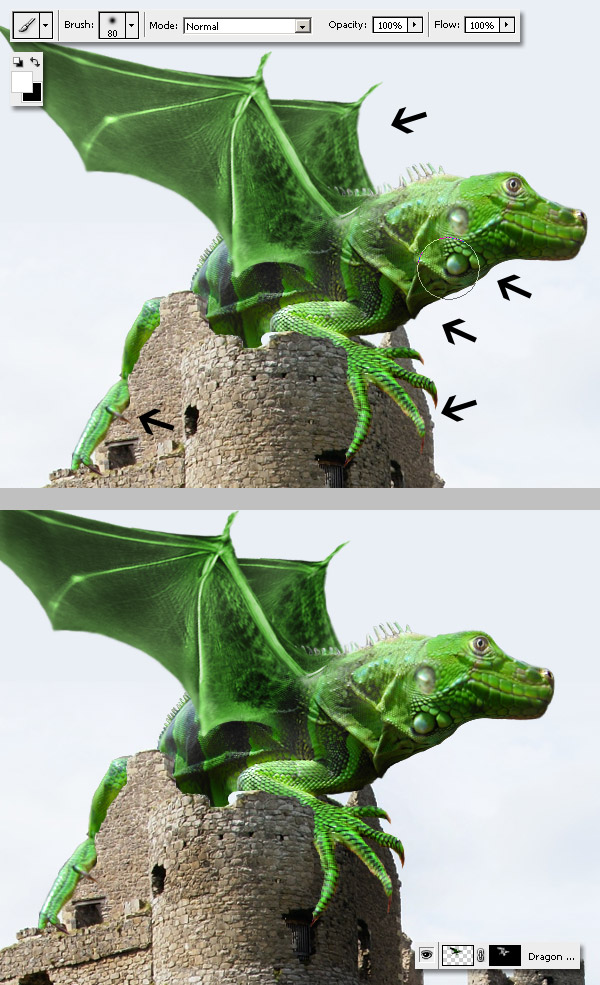
Step 21
Select the "Castle" layer, grab the Burn Tool and paint over the dark areas of the castle, just a little bit. Also, Burn the "pieces of castle" layer too.
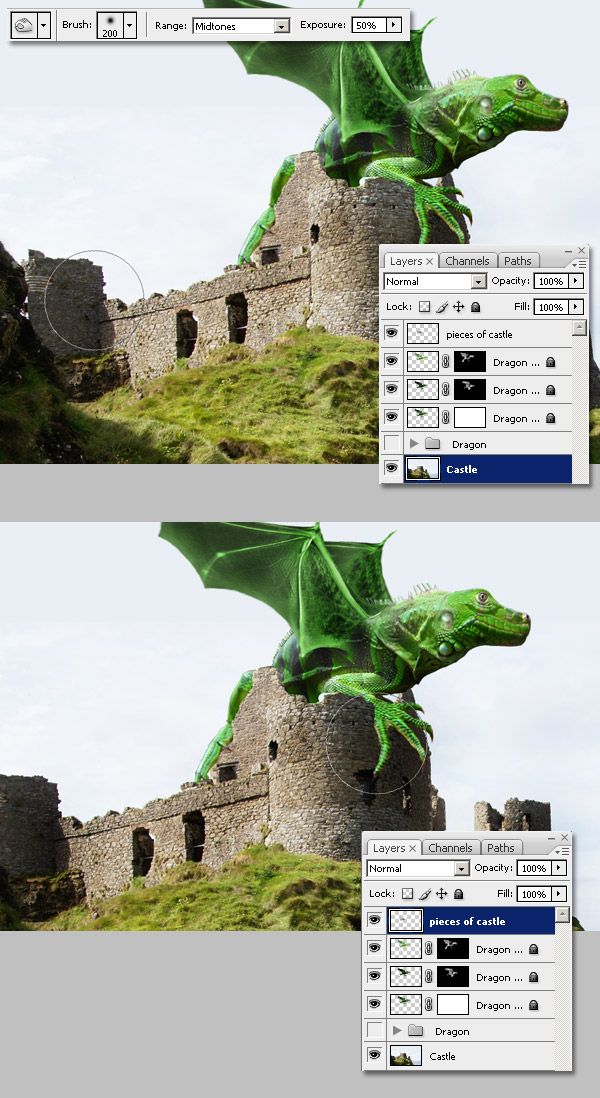
Step 22
Put all the dragon's layers into a new folder, duplicate the folder and merge the copy, then hide the original. This is a good moment to Dodge and Burn the merged dragon. I like it just the way it is, but the front leg needs to be less saturated, so I'll use the Sponge Tool.
Step 23
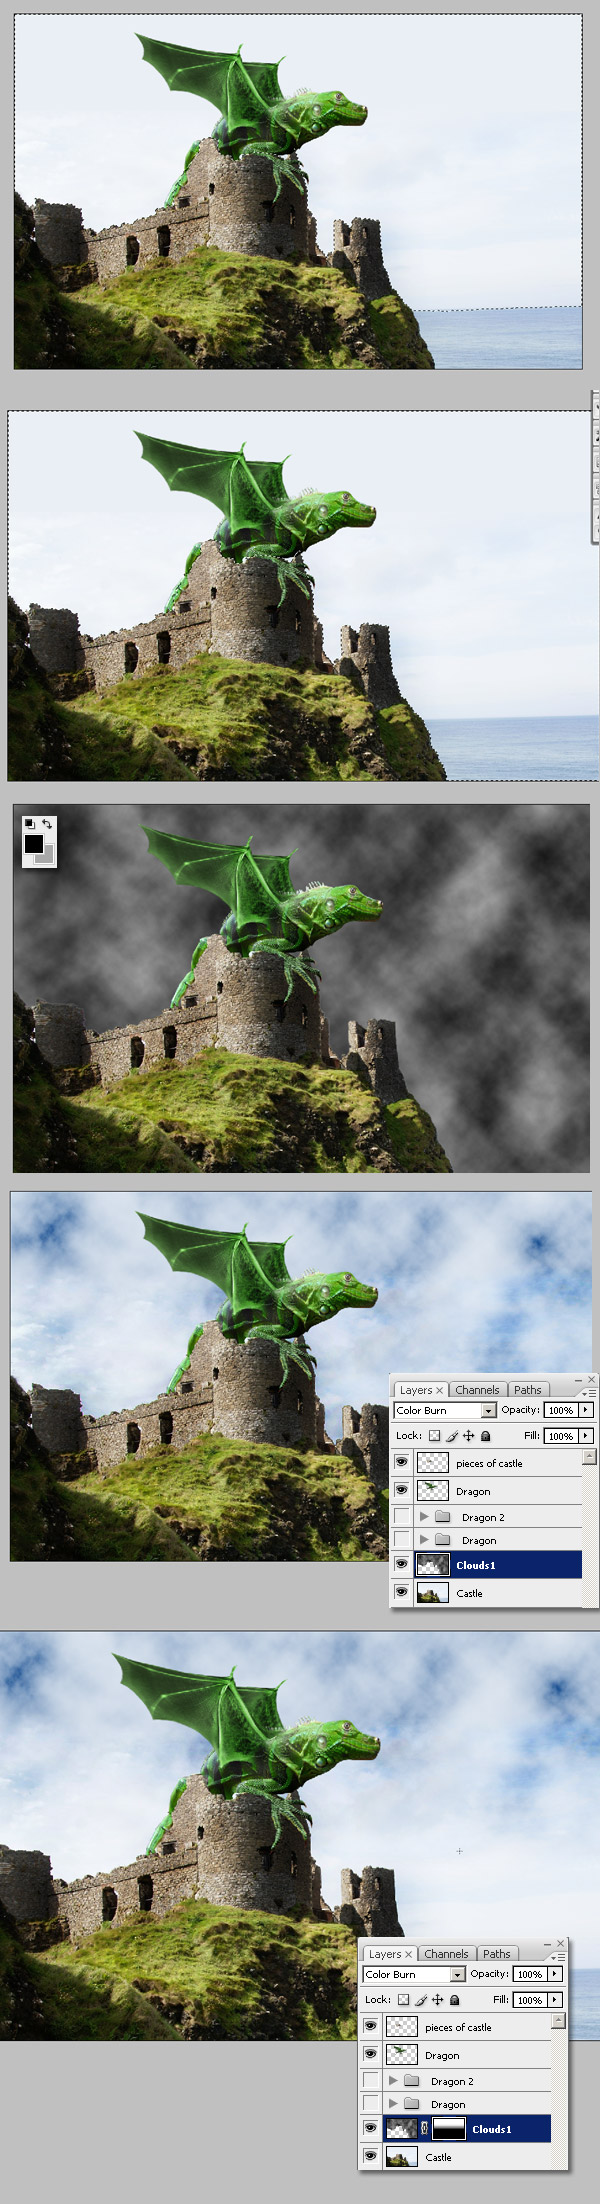
Now we're gong to add a dramatic style to the sky. Use the Magic Wand Tool and select the sky on the "Castle" layer, also holding the Shift key select the sea too. Crate a new layer above the "Castle" layer and name it "Clouds1."
Set the foreground color to black (#000000) and the background color to gray (#A8A8A8), then go to Filters > Render > Clouds. Then change the "Clouds1" layer Blending mode to Color Burn and hide the bottom of "Clouds1" layer adding to it a gradient (#FFFFFF - #000000) Layer Mask.
Step 24
Now we'll need to fix some imperfections on our dragon's face. Hide the big white circles on the dragon's neck by using the Clone Tool.

Step 25
Now we'll paint some shadows over the dragon, reference Step 18. Go to the original folder and Command-click over the "Lizard" layer miniature, then hold the Shift key and Command-click the "Wing" layer. Then hit Command + Shift + I to invert the selection.
Step 26
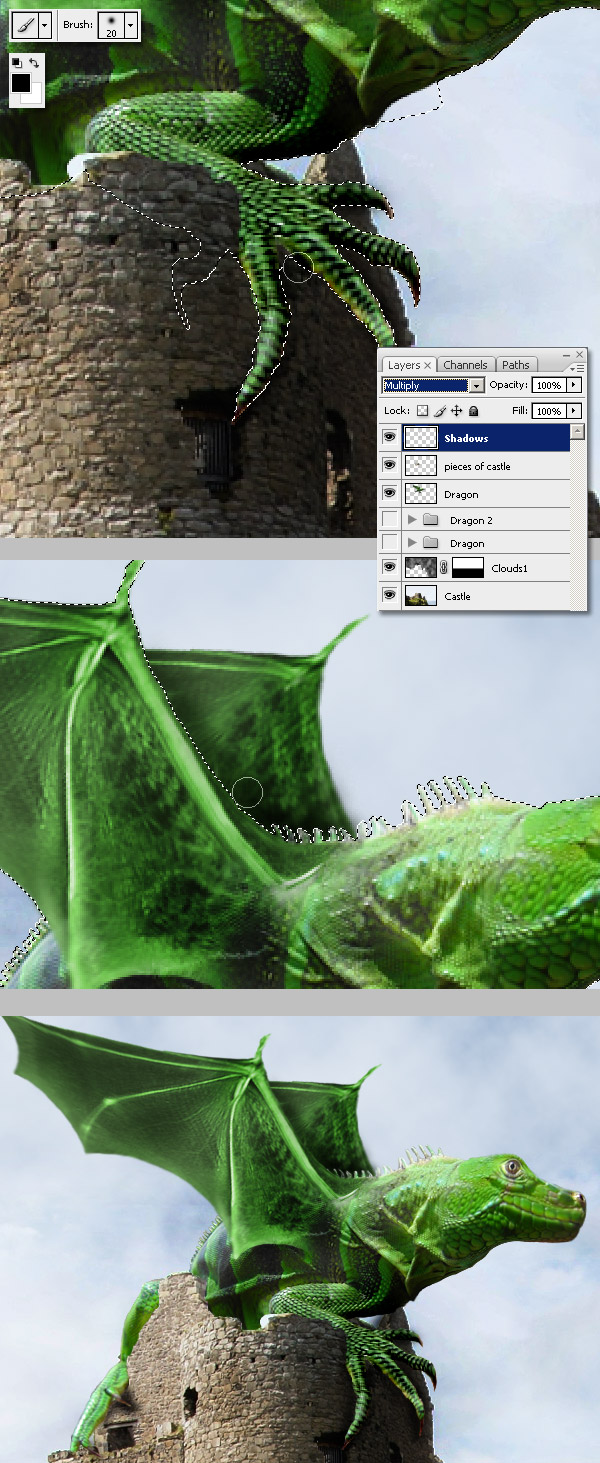
Now use a soft black (#000000) Brush and paint some shadows areas on a new layer named "Shadows." Also, change the "Shadow" layer's Blending Mode to Multiply. By using the selection, you'll only be painting on the selected area leaving the rest clean.
Step 27
Deselect the previous selection and paint more dark areas all across the dragon's shape and over the castle. You can use the Smudge Tool to smooth your painting.
Step 28
Use a smaller brush to draw some dark details over the face, mouth, and eyes.
Step 29
Now add some light details here and there using several sizes of white (#FFFFFF) brushes. Use the Smudge Tool if it's needed.
Step 30
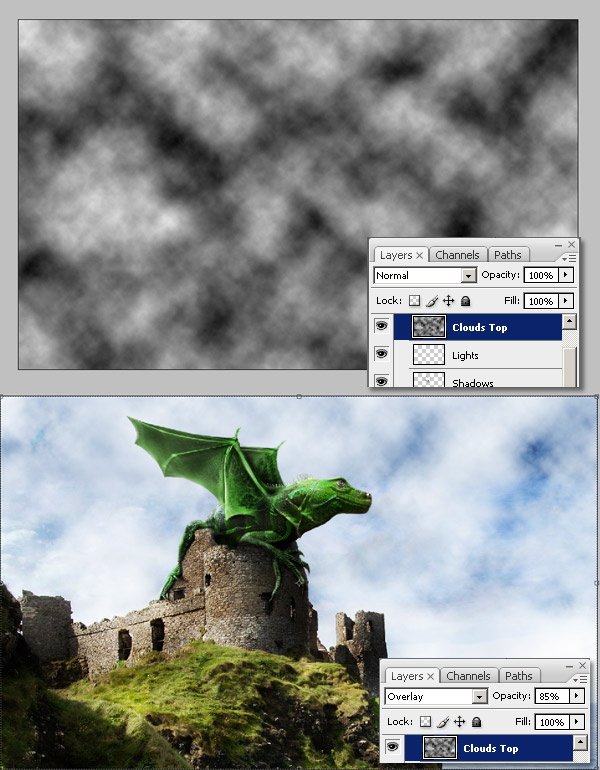
At this point, we have the design almost complete. Here is a trick to create a more dramatic scene. Hit D on your keyboard to load the default palette. Create a new layer above all the other layers and name it "Clouds Top." Go to Filter > Render > Clouds and change its Blending mode to Overlay and it Opacity to 85%.
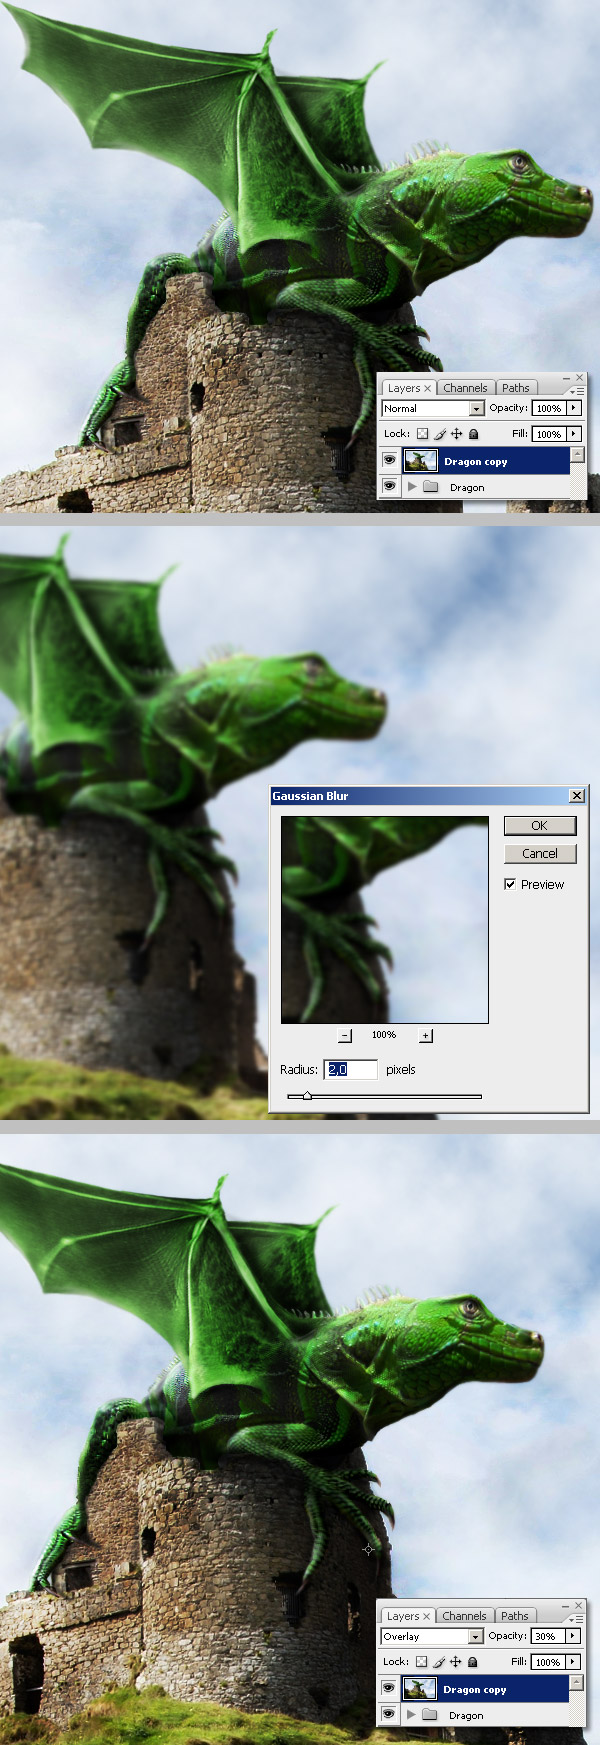
Step 31
Put all your layers into a new folder named "Dragon," then duplicate the folder and merge the copy. Go to Filter > Blur > Gaussian Blur, set the radius to 2px and hit OK. Next, change the "Dragon copy" layer Blending Mode to Overlay and Opacity to 35%.
Step 32
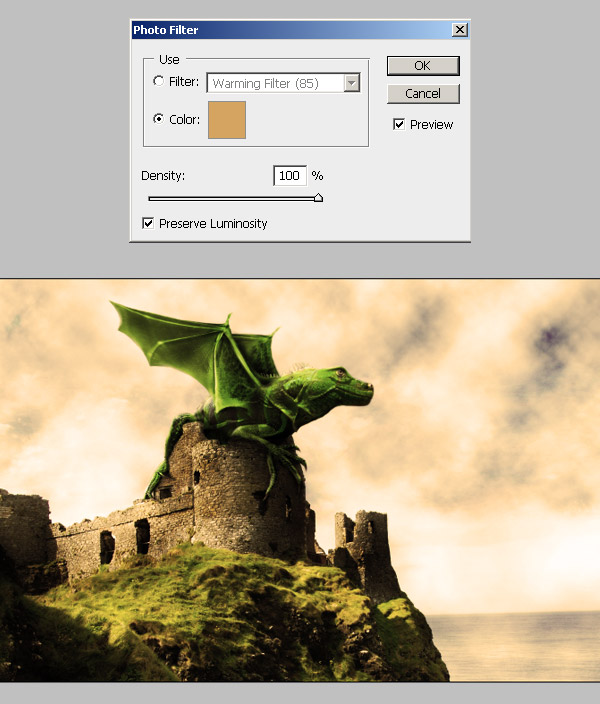
Finally, if you want to, add a new Adjustment layer > Photo Filter, select the Color option, and set the color to #D5A461.
Conclusion
That's it, try to make your own fantasy creature. You can view the final image preview below or view a larger version here.
No comments:
Post a Comment