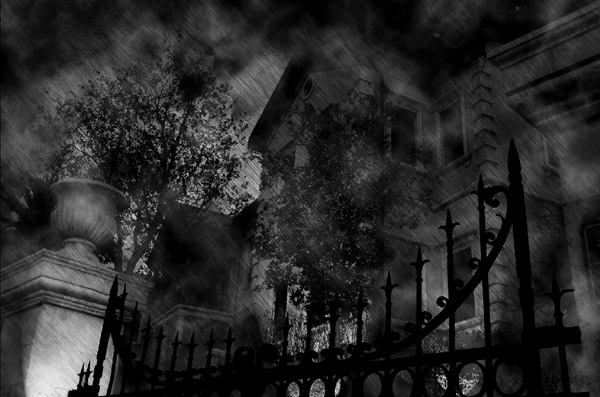
Final Image Preview

Step 1
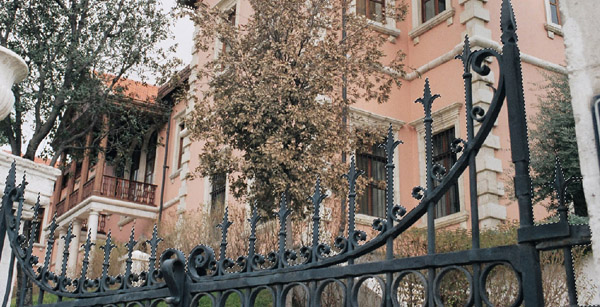
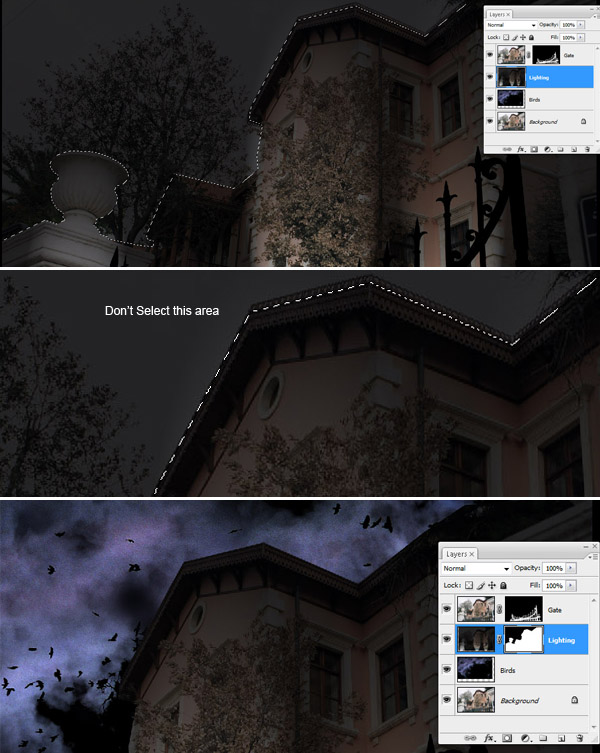
Open the building photo first. We're going to select the front gate and isolate it from the background. Press Ctrl + J to duplicate the background layer. Rename this new layer “Gate.” Choose the Polygonal Lasso Tool (L) and draw a selection around the gate.
Step 2
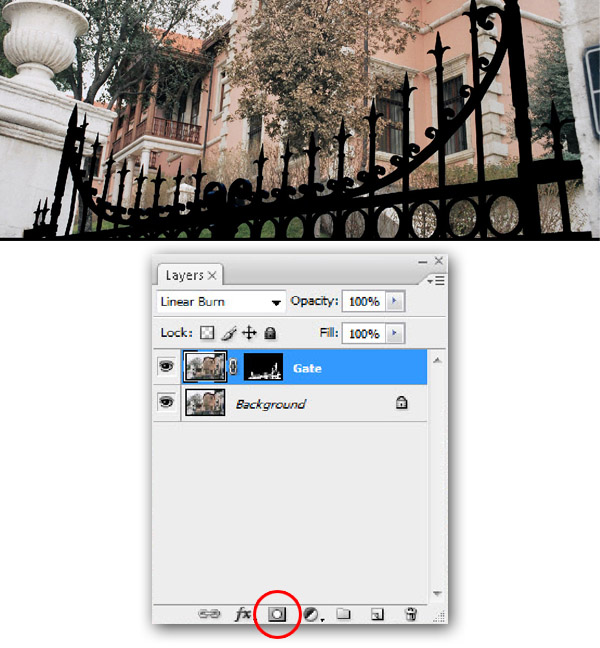
Hold down the Alt key and subtract the areas that don’t belong to the gate. After you finish press the Add Layer Mask button. Then set the blend mode to Linear Burn.
Step 3
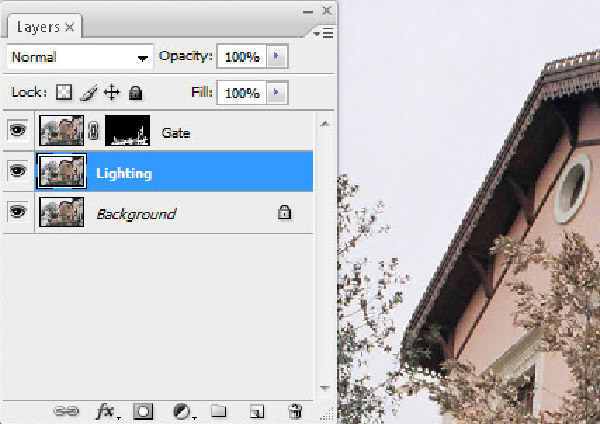
Select the “Background“ layer, then press Ctrl + J and rename this layer “Lighting.”
Step 4
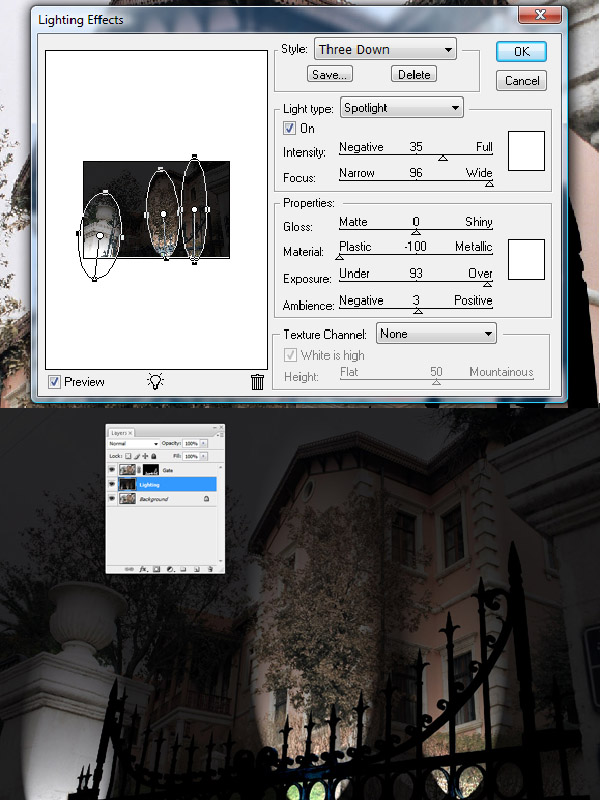
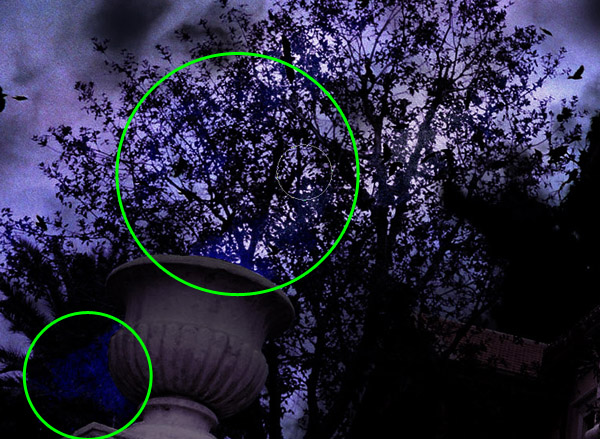
With the layer “Lighting” selected, go to Filter > Render > Lighting Effects. Select style ‘three down’. Rotate them upside down, and place them in accurate positions. Then move the Exposure Slider to 93 and set the Ambience to 3, as shown below.
Step 5
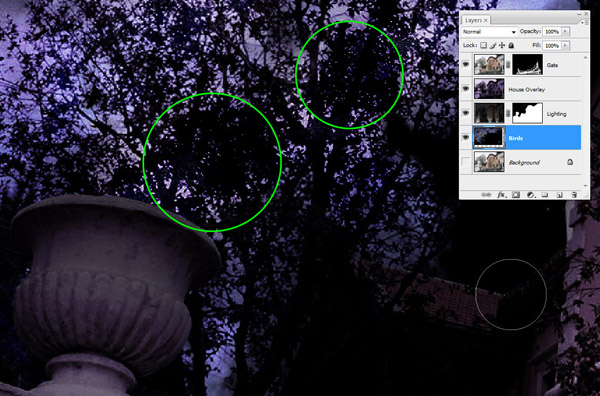
Open the ”birds” photo and drag it to your composition. Place it behind the “Lighting” layer. Then rename it to “Birds.”

Step 6
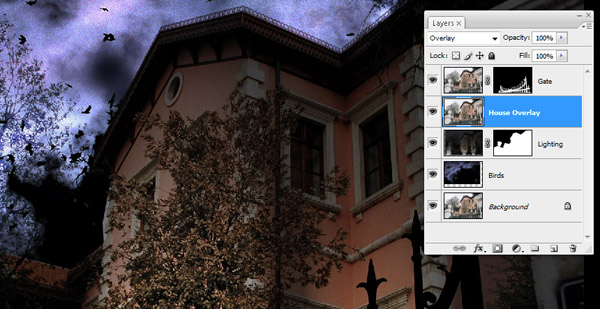
Select the layer named “Lighting.” Choose the Polygonal Lasso Tool (L), and draw a selection around the house. Then click on the Add Layer Mask button.
Step 7
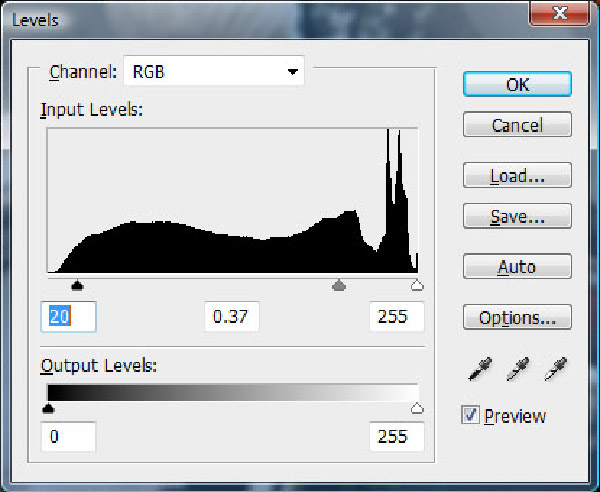
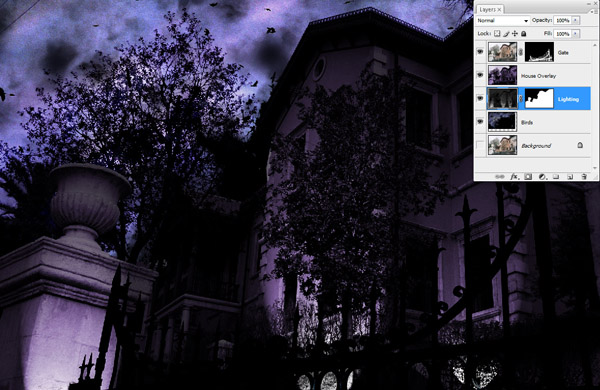
Go to the Background Layer, duplicate it, and place it below the “Gate” layer. Change the Layer Blend Mode to Overlay. Then rename the layer to “House Overlay.”
Step 8
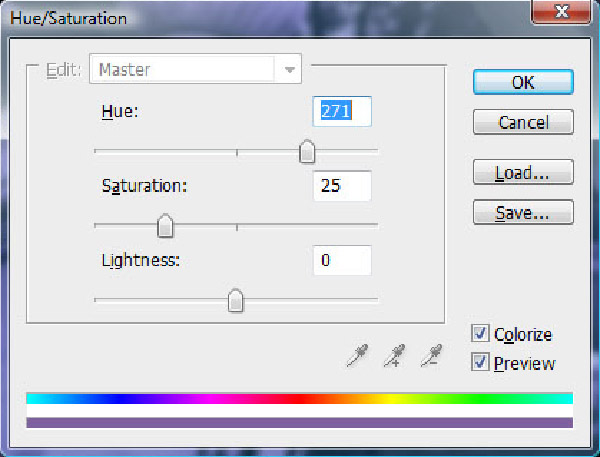
Press Ctrl + L for the Levels command. Enter the values shown below.
Step 9
Press Ctrl + U for the Hue/Saturation command. Make sure the Colorize option is selected and enter the values shown below.
Step 10
Make sure the layer “Birds” is highlighted. Then select Sponge tool (O). Set the Mode to Desaturate and Flow to 100%. Click and drag on over-saturated areas, as shown below.
Step 11
Select the Burn tool (O). Set the Range to Shadows and Exposure to 50%. Click and drag over the bright branches.
Step 12
Select the layer “Lighting.” Then Press Ctrl + Shift + U to desaturate the layer.
Step 13
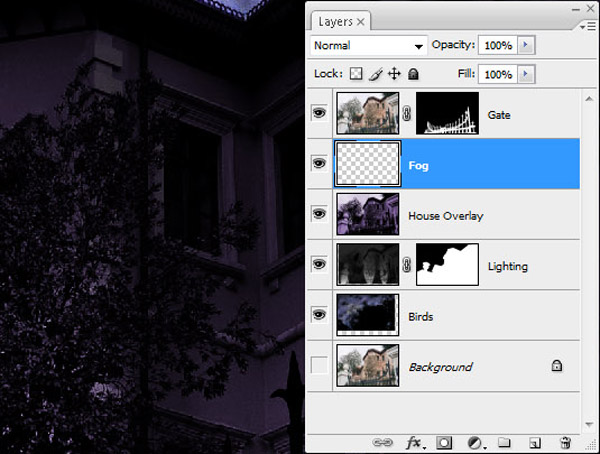
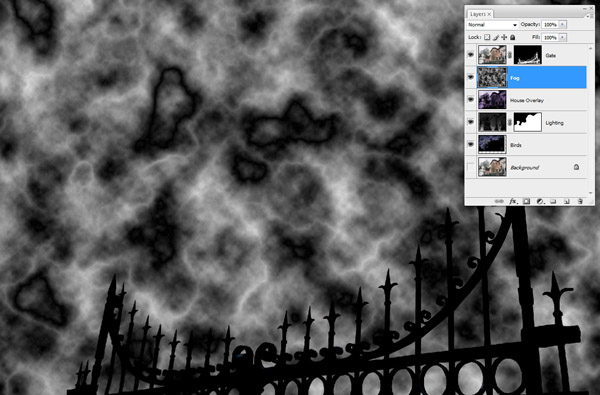
Make a new layer named “Fog,” and place it on top of the “House Overlay” layer.
Step 14
Press D to make sure the foreground color is black and background color is white. Press Alt + Backspace to fill the layer with the foreground color. Go to Filter > Render > Difference Clouds. Then press Ctrl + F twice to make the effect more Volumetric.
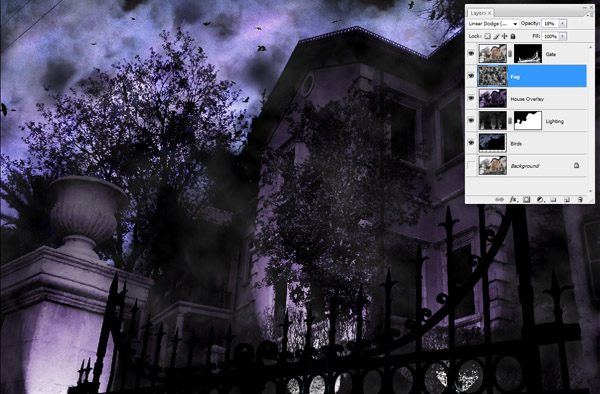
Step 15
Change the Blend mode to Linear Dodge (Add) for the “Fog” layer. Then set the Opacity to 18%.
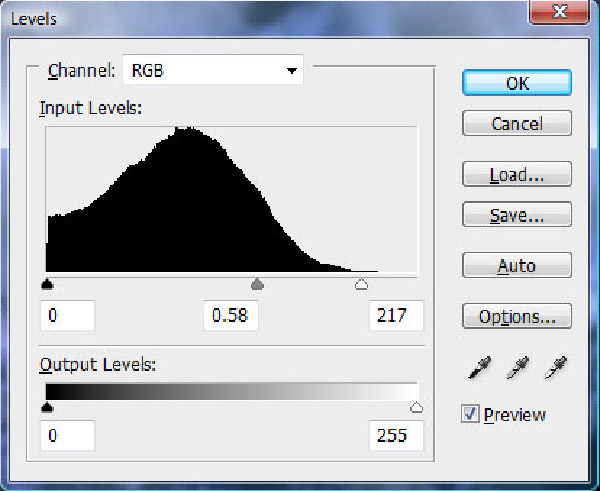
Step 16
Press Ctrl + L for the Levels command. Then enter the values shown below.
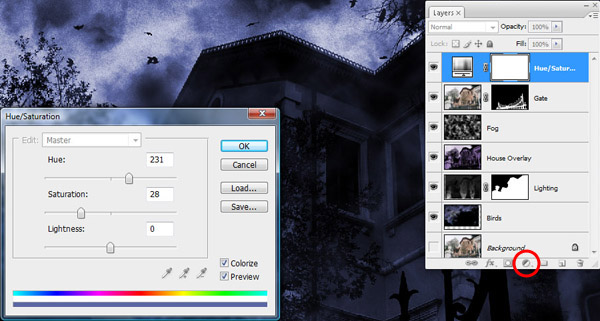
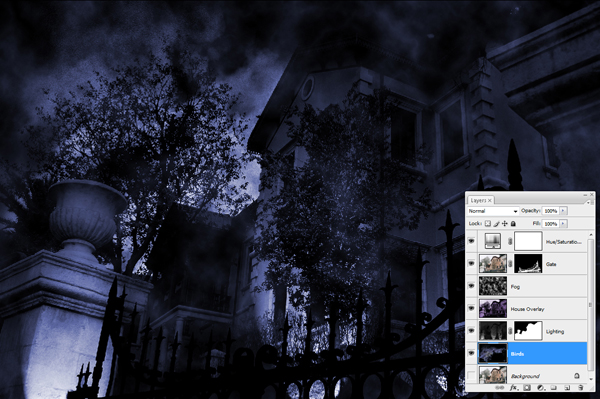
Step 17
Select the “Gate” layer, and add a Hue/Saturation Adjustment Layer. Make sure Colorize is selected. Enter the values shown below.
Step 18
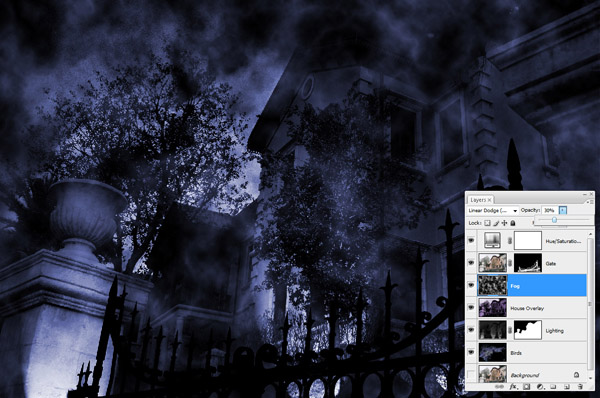
Ok, we haven’t finished yet. Let’s make another stormy version of the same image. Save this image. Then go to the “birds” layer, select the Move tool (V), and move the layer until you can’t see the birds.
Step 19
Set the Opacity of the “Fog” layer to 30%.
Step 20
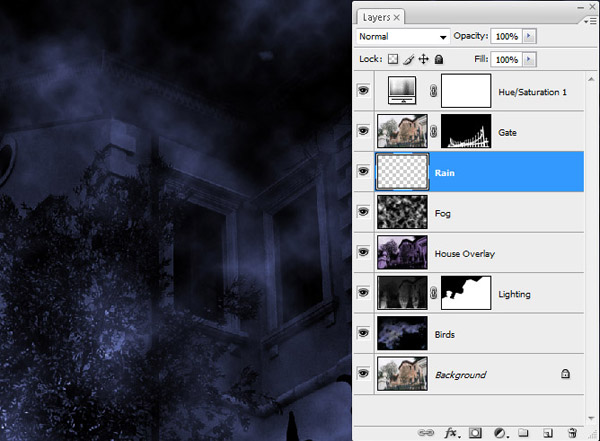
Make a new layer named “Rain” and place it behind the ”gate” layer.
Step 21
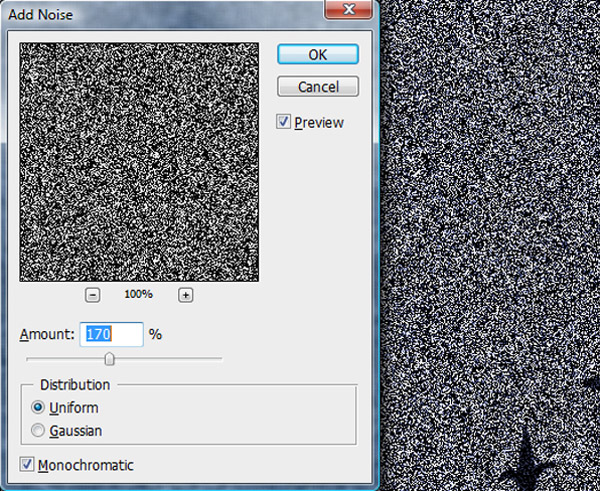
Press Alt + Backspace to fill the layer with a foreground color. Then go to Filter > Noise > Add Noise. Turn on the Monochromatic option. Then set the Amount to 170%.
Step 22
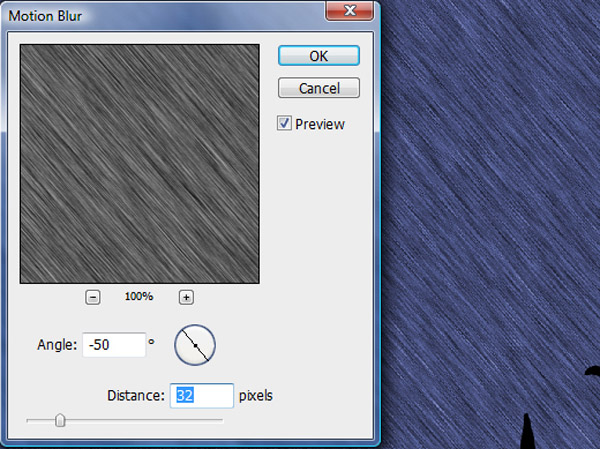
Go to Filter > Blur > Motion Blur. Set the Angle to -50 and the Distance to 32. Then press Enter to apply the filter.
Step 23
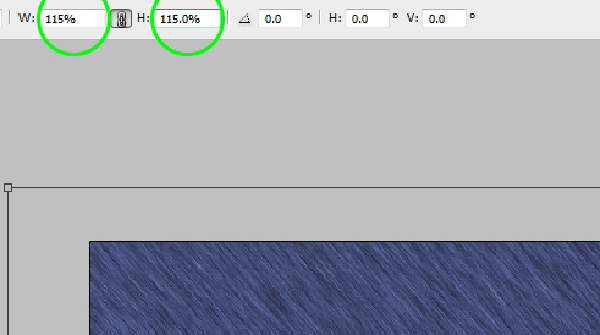
Press Ctrl + T for the Free Transform command. Scale the layer up to 115% to move unwanted layer edges outside the frame.
Step 24
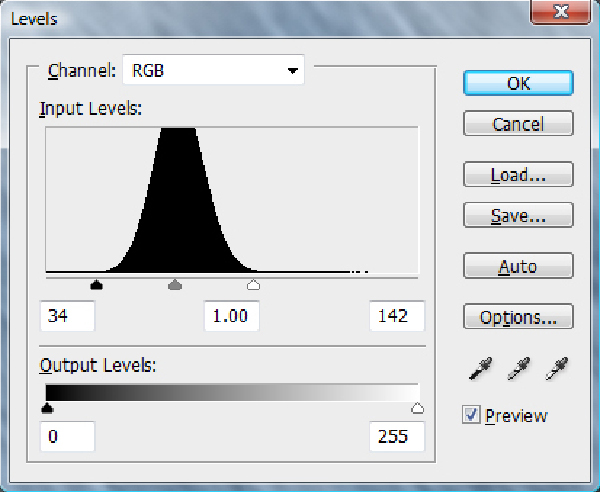
Hold down the Alt Key and click on the Eye next to the “Rain” Layer to hide all layers except “Rain.“ Then press Ctrl + L for the Levels command. Then set the values shown below.
Step 25
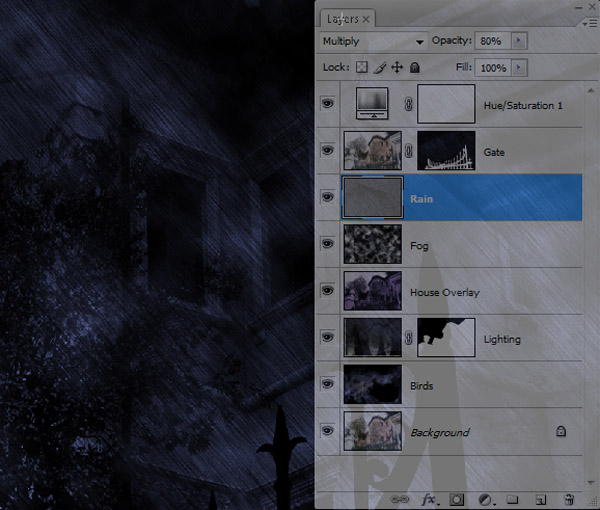
Hold down the Alt Key and press the Eye next to “Rain” layer to unhide all the layers. Then change the Opacity of the “Rain” layer to 80%. Then change the Blend Mode to Multiply.
Step 26
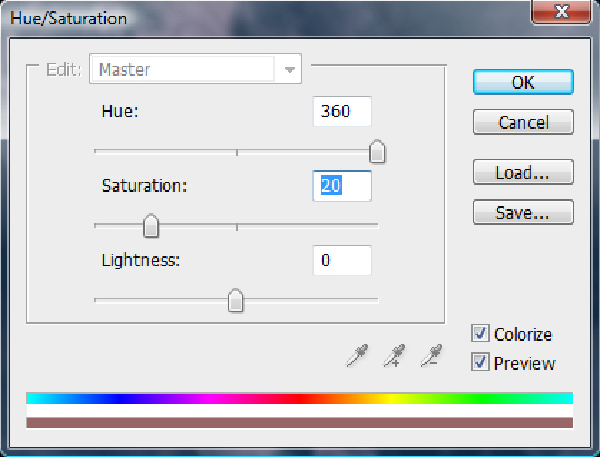
Double-click on Hue/Saturation Adjustment Layer. Then change the values, as shown below.
Step 27
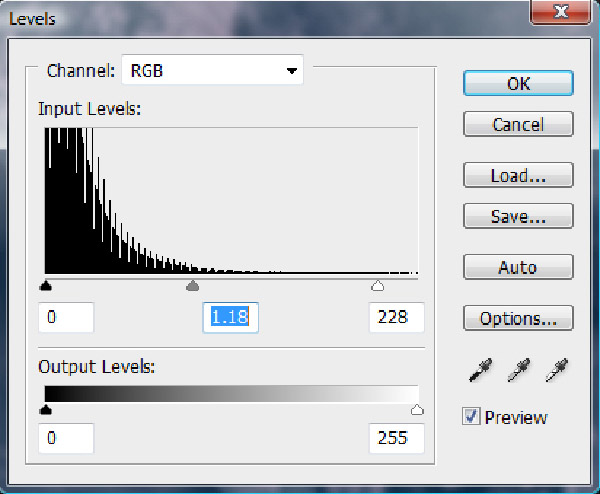
Add a Levels Adjustment Layer and enter the following values.
Step 28
Select the “Rain” layer. Then click on the Add Layer Mask button. Select the Brush Tool (B). Change the Opacity to 50% and make a few clicks on some areas to minimize the rain effect.
Conclusion
You could use this technique on any building photo taken in daylight. In this tutorial, I used a photo I took at sunset. That’s why there are no harsh shadows on the building, which makes the image a good sample to use to show these effects. I hope you enjoyed this tutorial.
No comments:
Post a Comment