 I had so much fun writing this Photoshop tutorial and I hope you'll enjoy reading it just as much. By following this tutorial, you'll learn to create intricate and unique frames and borders for your photos. As with most of my tutorials, this can be done in either Photoshop or Photoshop Elements.
Step 1. Open a large transparent canvas in Photoshop. Choose a size that is 1000 pixels larger than you think you'll need, because you'll be cropping the image later on. I used 5000 x 4000 pixels. Remember that you're creating a frame that you should to be able use on high-resolution images.
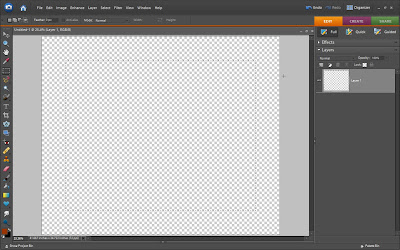 Step 2. Using the Rectangular Marquee Tool, select the entire canvas. Then go to Select > Modify > Contract and enter 100 pixels. Do this three times and the press Select > Inverse.
Step 3. Use the Paint Bucket Tool to fill the selection with the color of your choice.
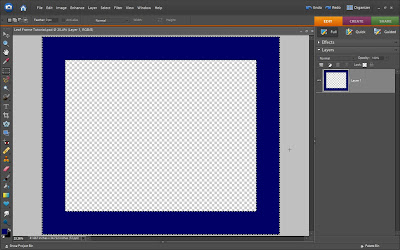
Step 4. Invert the selection again so that the blank enter of the rectangle is selected. Choose the Smudge Tool in the Tool Menu and select the "Scattered Maple Leaves" Brush in your default brush menu. Set the Size to 150 pixels.
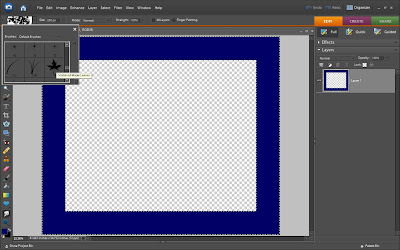 Step 5. Place the smudge brush on top of the color; blue in this case. Make sure that the brush is completely surrounded by the blue, and that it isn't touching any of the transparency. Otherwise, there will be parts missing from the leaves you're about to create. When the brush is properly positioned, press down and drag slightly toward the center of the image.
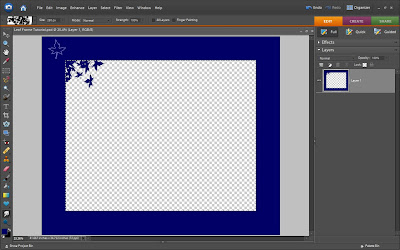 Step 6. Repeat step 5 all around the rectangle until it looks something like this.
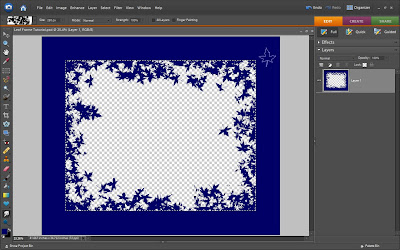 Step 7. Change your foreground color to something new and press Select > Inverse. Use the Paint Bucket Tool to change the color of the blue rectangle. Once the rectangle is the new color you chose, invert the selection again.
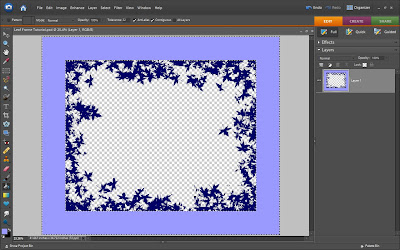 Repeat steps 5 and 6 with the new color.
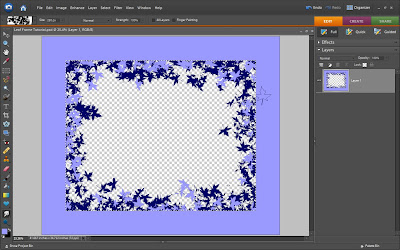 Step 8. Choose a couple other colors and repeat the steps until you're happy with the variety of leaves.
NOTE : ALL CREDITS FOR THE ORIGINAL TUTORIAL MAKER :)
=================================
=== For more tutorials keep visiting ;) ===
= http://photoshop-manic.blogspot.com =
=================================


No comments:
Post a Comment