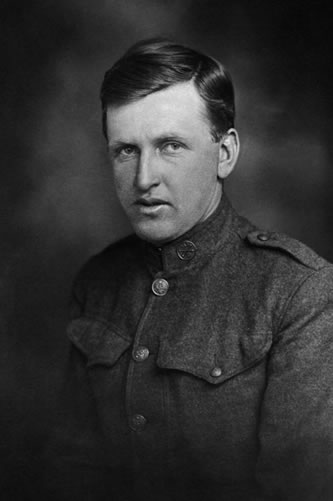
1.) Open your photo into photoshop
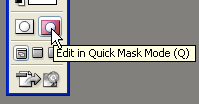
2.) Click on the “Quick Mask” icon (shortcut key: Q)
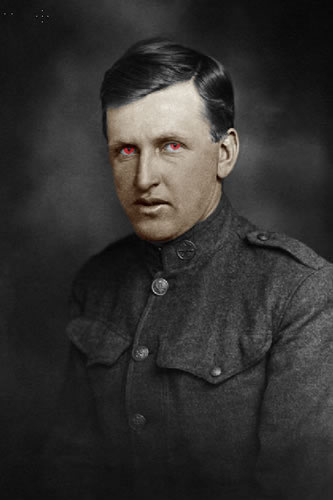
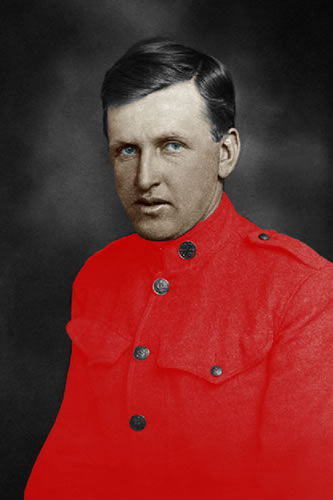
3.) Select the brush tool (shortcut key: B) and make sure your swatches are set to black & white. Begin to “highlight” the skin and only the skin. Pay close attention to your edges, and try not to overlap, as this will cause problems later.
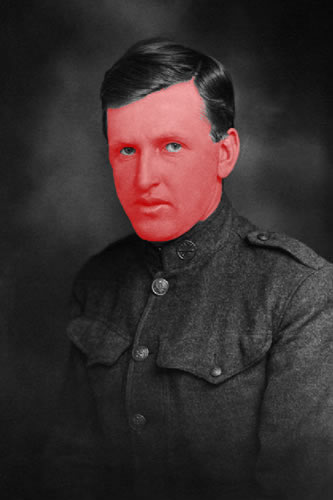
4.) With the whole area highlighted red press “Q”… this will select everything but the area you highlighted. Seeing how you want to select the exact opposite of what’s currently selected simply hit “CTRL + I”.
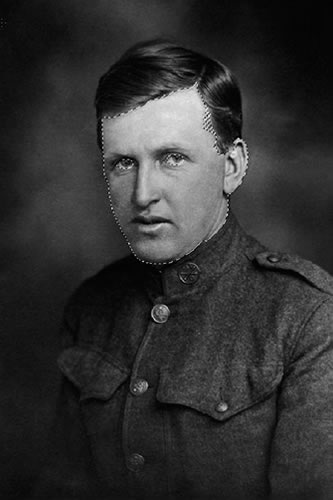
5.) Now that you have the appropriate area selected hit “CTRL + B” to bring up the Color Balance window. Play around with the color levels until you get a skin tone that seems correct to you. Once you are satisfied with it hit “CTRL + D” to deselect your area.

Note: From here down… it’s just repeating what you learn in steps 1 – 5.
6.) Repeat the process for the eyes
7.) Repeat the process for the coat.
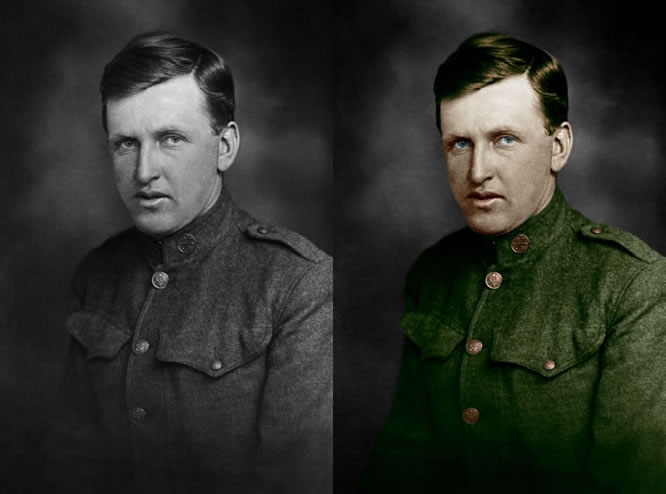
8.) Just repeat the same process for the buttons on the coat and the hair… and you should end up with something like this.
NOTE : ALL CREDITS FOR THE ORIGINAL TUTORIAL MAKER :)
=================================
=== For more tutorials keep visiting ;) ===
= http://photoshop-manic.blogspot.com =
=================================
No comments:
Post a Comment